(Not really) Basement Reno: Bragging Time
Unfortunately, nothing has progressed on the basement in
recent weeks, but that should change next week (I have two days off which I plan to use to get some shite done)!
To tide you over, here are some previous renovations my husband and I have
done to our house! Bragging time?
I’ve already shown you the office renovation in the first post, so you won't have to see that again!
I’ve already shown you the office renovation in the first post, so you won't have to see that again!
1) Modernizing the house
Our house was built 1983. In 1983 people preferred to use wood trim and leave it natural. It's ugly as hell. So, we decided to remedy that. This took months, because it was tedious and annoying, but now all the trim in the house is stunning white! Except where the dog ate it. We just can't have nice things!
Our house was built 1983. In 1983 people preferred to use wood trim and leave it natural. It's ugly as hell. So, we decided to remedy that. This took months, because it was tedious and annoying, but now all the trim in the house is stunning white! Except where the dog ate it. We just can't have nice things!
Cost: Trim paint and primer (so like $100)
Time: Variable
Effort: Easy as hell, but boring
Tip: If you're painting this kind of trim, expect to use at least 3 coats of primer because the wood is THIRSTY
This is by far the easiest way to make a dramatic difference in your home


2) Powder Room!
Powder Rooms are great because you can have fun in them. Not by going to the bathroom (weirdos!) but in decorating them. As we'd recently been to Cuba we decided to do a little theme to house our souvenirs.
Powder Rooms are great because you can have fun in them. Not by going to the bathroom (weirdos!) but in decorating them. As we'd recently been to Cuba we decided to do a little theme to house our souvenirs.
Typical look for an 1980s powder room. Boring laminate countertop, mirror with no frame, etc, etc

Tip: If lights are going to be in a vanity, make them point DOWNWARDs onto the sink, not up on to the ceiling.

To achieve my red line affect (below) I used painter's tape to mark where to paint.


We bought this decorative thing below at home depo for like $15. Then painted it the same red as the stripes. We also painted the cabinet.


Cost: Mirror, faucet, paint, countertop, new light... I'd say we spent about 400 bucks?
Time: Full day Saturday, some of Sunday
Effort: 4/10. More if you hate painting or if you're not used to installing faucets/lighting. For us this was a simple project.
Tip: You don't need to buy a new vanity for a powder room! Just paint it! 3) The BIG one: The Fireplace
This has been all over my Facebook, but here it is again! How we modernized our fireplace.
If you're going to do something big, have an idea beforehand. Find some examples in magazines and then see which are feasible. I don't have the picture anymore, but I saw our exact wall (well, it was bigger but if you scaled it down it was our wall - we have 16' in the top left corner) in a magazine with a modern wood frame for the fireplace. So I incorporated that look.
While the old shelves were handy, there is something to be said for Negative Space. It was just SO BUSY with all those shelves.
And that brick? Ew? And the blue fireplace? WTF!


Miss is guarding our supplies

This little guy is forever in the frame. I ALWAYS leaves notes or things like this hidden in renovations. :)

There was a lot of wood to be cut for this project. OMG it's the Expedition and Sylvia in the background!


After the wood was up we had to apply the ledgestone. We got it from Grand Valley Tile in Kitchener - great place. It wasn't cheap as it's real quartz. And the time-consuming part is cutting the tile. If you have no experience with cutting or laying tile GET HELP. It's not like Lego.

Reminds me of Two-Face from those awful Batman movies.
The most difficult decision was what to do about the hearth. You can't put the ledgestone on it, and we didn't' want to pay $1000+ for a piece of granite or whatever. So we stumbled across tiles at Home Depot. Rob cut some to make the front and the rest we just installed as usual. If we used the hearth everyday we might not have cheaped out, but we never use it and it's never been harmed (knock on wood!).

You install tile differently from ledgestone, by the way. Never assume one product is the same as another. It's like presuming my sister Nikkie and I have the same political views since we're sisters. On some things yes, on some things definitely not.
Voila! We painted the wall behind the fireplace a slightly darker gray than the main walls would shortly be painted in order to make the room feel longer.
A note about the fireplace. In going to Bast and other fireplace stores, we realized fireplaces are expensive as hell. So, instead of buying a new one, we just spray-painted (heat safe paint) the blue trim black instead. Easy as pie! And all it cost was the price of spray paint!

Here is today, with new couches, painted walls, and accessories.

Cost: I don't remember, but we had to buy wood, the stone (which was around $800 maybe?), the mortor, the tiles, the paint, etc.
Time: Two weekends I think? Like 8-8 Saturdays and 9-3 Sundays kind of thing.
Effort: A lot. It was a two-person job though. Three's a crowd for this. Certain jobs get muddled the more people you add to the mix.
Tip: Cheap out where no one will notice! Don't cheap out on stuff that will get wear and tear, but if you can cut corners secretly, then do so!
Tip: Cheap out where no one will notice! Don't cheap out on stuff that will get wear and tear, but if you can cut corners secretly, then do so!
4) Backyard
You can kind of see from the first photo that there are a mountain of weeds in the backyard. Yeah, it took 3 days, but I dug them out by hand/shovel. Then we left the backyard for a year. The weeds kind of came back, so we removed them once and for all and built a nice garden. I also tore down that stupid swing the first month we lived here. Yay!
You can kind of see from the first photo that there are a mountain of weeds in the backyard. Yeah, it took 3 days, but I dug them out by hand/shovel. Then we left the backyard for a year. The weeds kind of came back, so we removed them once and for all and built a nice garden. I also tore down that stupid swing the first month we lived here. Yay!


Since we've also dug out the entire grass, re-seeded it, built a deck, added a firepit, and generally just tidied it up. The spring will bring a new shed!
Cost: Unknown - trees, seed, etc
Time: FOR FREAKIN' EVER
Effort: Back breaking and sunburning
Time: FOR FREAKIN' EVER
Effort: Back breaking and sunburning
Tip: Live in a damn condo
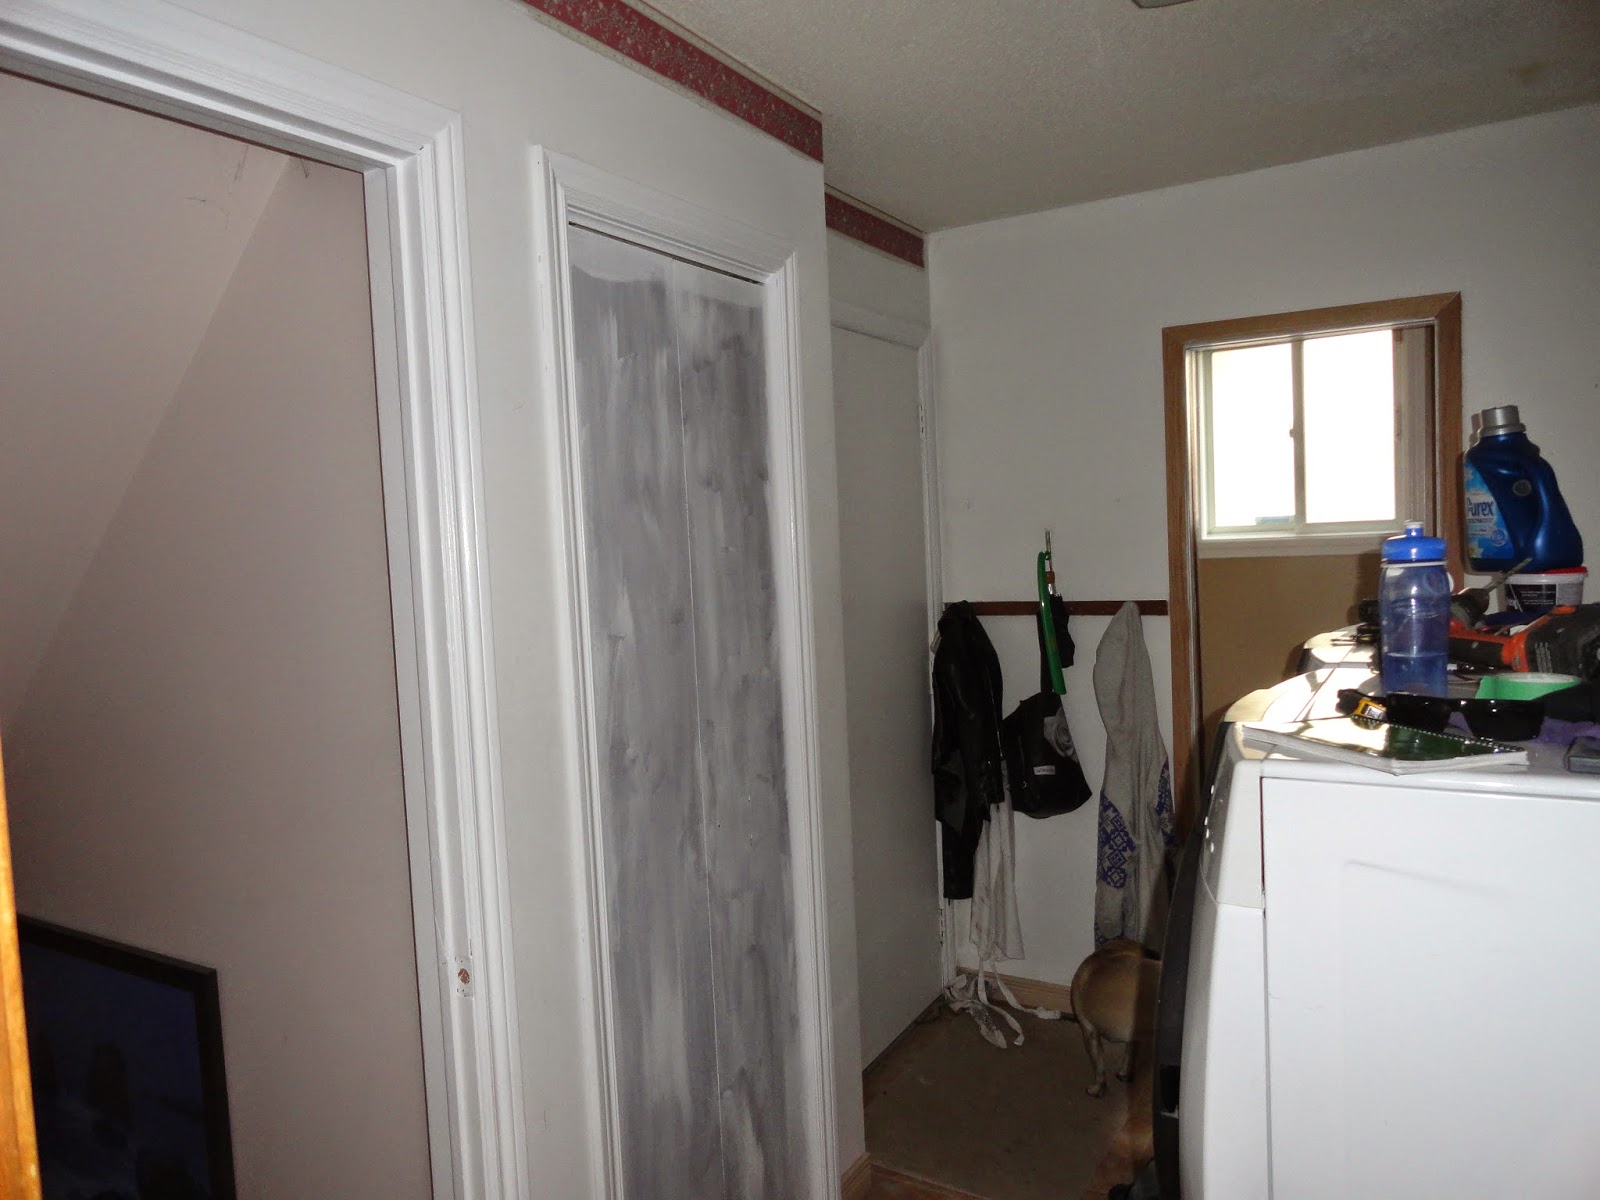
5) The Laundry Room!
Our laundry room sucked. There is a massive washer and dryer in there (can't wait until they die), some hard to reach shelves, a closet which made no sense, a coat rack that made the coats trail on the floor, and it had this terrible wallpaper border. So we spent a weekend building a shelving unit in the closet, modernizing the trim, and painting it! Now it's pleasant.

This is Uni-Tron. I found him at Value Village for $6. Rob wouldn't let me put him back up in the laundry room when he fixed it, but I will find a home for him. He is my hero.

.


Cost: Shelving unit thing (that Rob hacked to make work better), new light, paint, coat hooks. $200?
Time: 1 full Saturday (and paint touch-up on Sunday)
Effort: 3/10
Tip: Laundry rooms suck. Bring in colour to make them more exciting and focus your efforts on storage. I hated keeping our Tide in the cupboard because we end up putting stuff on the top of the washer which blocked the cupboard door. So we put two floating shelves (not shown) over the utility sink where I keep the swiffer cloths and tide out in the open. It's a lot easier for me, but it depends on preference. Make a list of what pisses you off about the space and work from there.
6) The Kitchen
Rob and I swore we weren't going to touch the kitchen because we plan on gutting and re-doing it in 5-10 years. It's livable. But it's ugly. Cringe-worthy ugly. Since we replaced the sliding door I decided that it was an affront to that marvelous new door to house it in such a train-wreck of a kitchen. I decided to paint the walls. I was also sick of the purple brick wallpaper backsplash (*opps, excuse me, I just vomited) and was just going to go with a painted backsplash. I removed it and thought about the backsplash for awhile. Then I "found" the leftover ledgestone from the fireplace and set it up conveniently for Rob to admire it. It was an easy decision to drop another $80 on a box of ledgestone at that point. So, here is a step-by-step guide to installing a backsplash!
Rob and I swore we weren't going to touch the kitchen because we plan on gutting and re-doing it in 5-10 years. It's livable. But it's ugly. Cringe-worthy ugly. Since we replaced the sliding door I decided that it was an affront to that marvelous new door to house it in such a train-wreck of a kitchen. I decided to paint the walls. I was also sick of the purple brick wallpaper backsplash (*opps, excuse me, I just vomited) and was just going to go with a painted backsplash. I removed it and thought about the backsplash for awhile. Then I "found" the leftover ledgestone from the fireplace and set it up conveniently for Rob to admire it. It was an easy decision to drop another $80 on a box of ledgestone at that point. So, here is a step-by-step guide to installing a backsplash!

Our friend, quartz ledgestone
The first step is to clear off the countertop and get the switches/plugs out of the way

Then you draw out where everything is so you can measure and cut accurately

As you can see, Rob is measuring twice and cutting once!


DO NOT dump extra mortor down the drain or sewer or feed it to your children. Just scoop it into an old box, let it dry, and put it in the garbage.

Done! Our next idea is to, maybe, paint the cabinets. I think it's funny how our "temporary" solutions tend to be full facelifts. :S

Cost: $150. Stone and the Ultralite mortor. If you don't have trowels and stuff you would need to buy those too. And a tile cutter. And a big bucket. And a drill bit that is a cement mixer. Thankfully Rob (and his dad) own every tool in the world.
Time: Sunday afternoon (and I was sick so I didn't do anything to help, really); 1 person job
Effort: 5/10
Tip: Measure twice, cut once. Rinse off the stone to get rid of fragments and let dry completely.
Onwards to the basement!
Thanks for reading! :)

Comments
Post a Comment