The Horrible Part and the Not so Horrible: Mudding, Sanding and Tiling!
After we finished all the guts of the ensuite, we started the fun part of putting it back together.
We luckily remember that to replace our pocket door, we needed to do that before the walls went up!
Cash saving tip: initially we bought a new frame/track for the door and a new door (frame was about $150 and the door $35). But the problem with the door wasn't the frame and track, but just the door itself, so we took back the frame and saved some coin.
Why bother replacing the door itself then? Well, not only was it old and plain, but, as you can see below, the dog destroyed it (when he was a puppy and we didn't have a crate for him yet we put him in the ensuite when we weren't home, as he tended to have accidents and knock over his water).

Now we have a nice new door! I primed it already, but we won't be painting it or adding hardware until the end.
We hung a few boards at a time in the evenings for a couple weeks. I didn't take a photo of the room boarded, because it's not super exciting. We did use cement board where we were going to tile and the moisture resistant drywall elsewhere (because it's a bathroom).

After this came something we hadn't really attempted before in our renos, except in small patches: Mudding.


I helped with the first application, but I become conveniently sick for a couple months and could not, alas, do any of the sanding. So my only advice for mudding and sanding is that you should have a lot of patience and somewhat of a perfectionist. Rob did a fabulous job, especially as it was his first time mudding aside from a few patches.
As I was still feeling like total ass, I didn't get around to priming before tiling, but that wasn't a big deal. But, before we could tile, we had to install the basin. This required a lot of fiddling and leveling to make sure it was installed perfectly. But I'm not complaining. Usually in our renos we splurge on only one or two things. For this reno we're keeping the old toilet, will try to find an inexpensive vanity, are keeping the mirror, but we went all out on the shower. But I'll go on about the brand and functionality when we actually install it!
After we measured and placed and measured again, we put some blobs of quick cement down. The tiles themselves (floor and wall) will also work to keep the piece installed, but this would keep it in place while we did the tiling.

We placed the basin and screwed it to the wall (the screws will be hidden). As we didn't want a walled-in shower (just glass), this set-up prevents leakage.
Though the basin has a protective cover on it (like the one that comes with you phone that you try to leave on as long as possible haha), we still put an old sheet over it to protect it. As you can see why in the following photos.

As you can see from the photo above, there is now a piece of wood on the wall. Why? Well, when we started prepping for tiling, Dave came over again to help us. Given the height of the walls and the dimensions of the tiles, we discovered that one row of our 11.5 x 23.5 tiles would have to be 8" high. As I thought a skinny border at the top was not ideal, we decided to have the smaller pieces on the bottom. So, we installed the wood level on the wall as a mock floor - all tiles would be installed starting above the wood. When the tiles were done, we would remove the wood and install the bottom pieces.
We also had a similar issue regarding the width. The tiles wouldn't meet perfectly from one side to another, so we decided that the long pieces should meet at the shower corner and splay outwards, giving the illusion that they continued past the wall. Good old decorating class techniques!
After these things were decided, we got to work! Below are our tools!
Not shown are the spacers. We also used a regular scraper if we needed to lift or push a tile slightly to put in a spacer.
Some basics for tiling:
If you have tiles that aren't uniform in colour/design, I suggest selecting the order ahead of time (or if someone is particular [me], have them lay them out in the order they wish as you go).
First step is to mix the adhesive. We did half a bag at a time, as while the stuff does stay wet for awhile, it doesn't forever. You want it about the consistency of icing for a cake. Not too runny, not too thick. It should spread nicely but not run off the trowel or be tough to spread.
Then you put the adhesive in a layer on the cement board (about half an inch thick), creating grooves in it with the ridged trowel.

You backbutter the tile you want to install (a THIN THIN layer. Almost non-existent). This helps it stick.

Then you push it in place, wiggling it a bit. You place the spacers after this. You shouldn't shove the spacers in, but move the tile (using a small scraper or dry trowel) and push it in place over the spacer.
Wash the tile off with a sponge.
Seems easy, but when the wall isn't 100% straight, you have those side pieces to cut, you have to grind/cut weird holes, and you're working tight quarters, it was wonderful to have Dave there to help!
Voila! First wall:

After this we decided to go to Arizona for a much needed vacation!
When we returned, I decided I should probably prime the walls before we did more tiling. The previous owners thought Robin's Egg Blue was a wonderful colour, but within two months of moving in I painted over it with some (arguably) better brown. Now both were going bye-bye.

I COULD have taped the tiles, but I just free-handed everything (because I'm a pro, what what).
I managed to get the two coats of primer on (including in the skylight) and the first coat of ceiling paint, but I'll show that later when I paint the rest of the walls. :)
This Saturday we decided we would finish the wall tile so we got to work! Last time we were hardcore lunatics only focused on work, so we had no music. This time, as it was just the two of us, we listened to Google Play's So-Cal mix. Ah, late high school/university days.


What's Next?
Painting the ceiling!
Painting the walls!
Tiling the Floor!
Cleaning the tiles!
Grout!
Tips:
If you purchase your tile from a specialty flooring store (which I recommend) ask them to suggest both a grout and cement/adhesive for the tiles.
Small spaces = small staff. While Dave's help was immensely appreciated, three was tight.
Lay your tiles according to what you want to accentuate. Do you want to create the illusion of width or height? Vertical for the latter and horizontal for the primer.
Don't let your husband take a photo of you in yoga pants.
We luckily remember that to replace our pocket door, we needed to do that before the walls went up!
Cash saving tip: initially we bought a new frame/track for the door and a new door (frame was about $150 and the door $35). But the problem with the door wasn't the frame and track, but just the door itself, so we took back the frame and saved some coin.
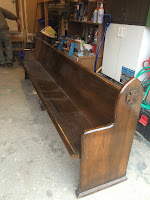
Why bother replacing the door itself then? Well, not only was it old and plain, but, as you can see below, the dog destroyed it (when he was a puppy and we didn't have a crate for him yet we put him in the ensuite when we weren't home, as he tended to have accidents and knock over his water).
 |
| Thanks Ruger |

Now we have a nice new door! I primed it already, but we won't be painting it or adding hardware until the end.
We hung a few boards at a time in the evenings for a couple weeks. I didn't take a photo of the room boarded, because it's not super exciting. We did use cement board where we were going to tile and the moisture resistant drywall elsewhere (because it's a bathroom).

After this came something we hadn't really attempted before in our renos, except in small patches: Mudding.
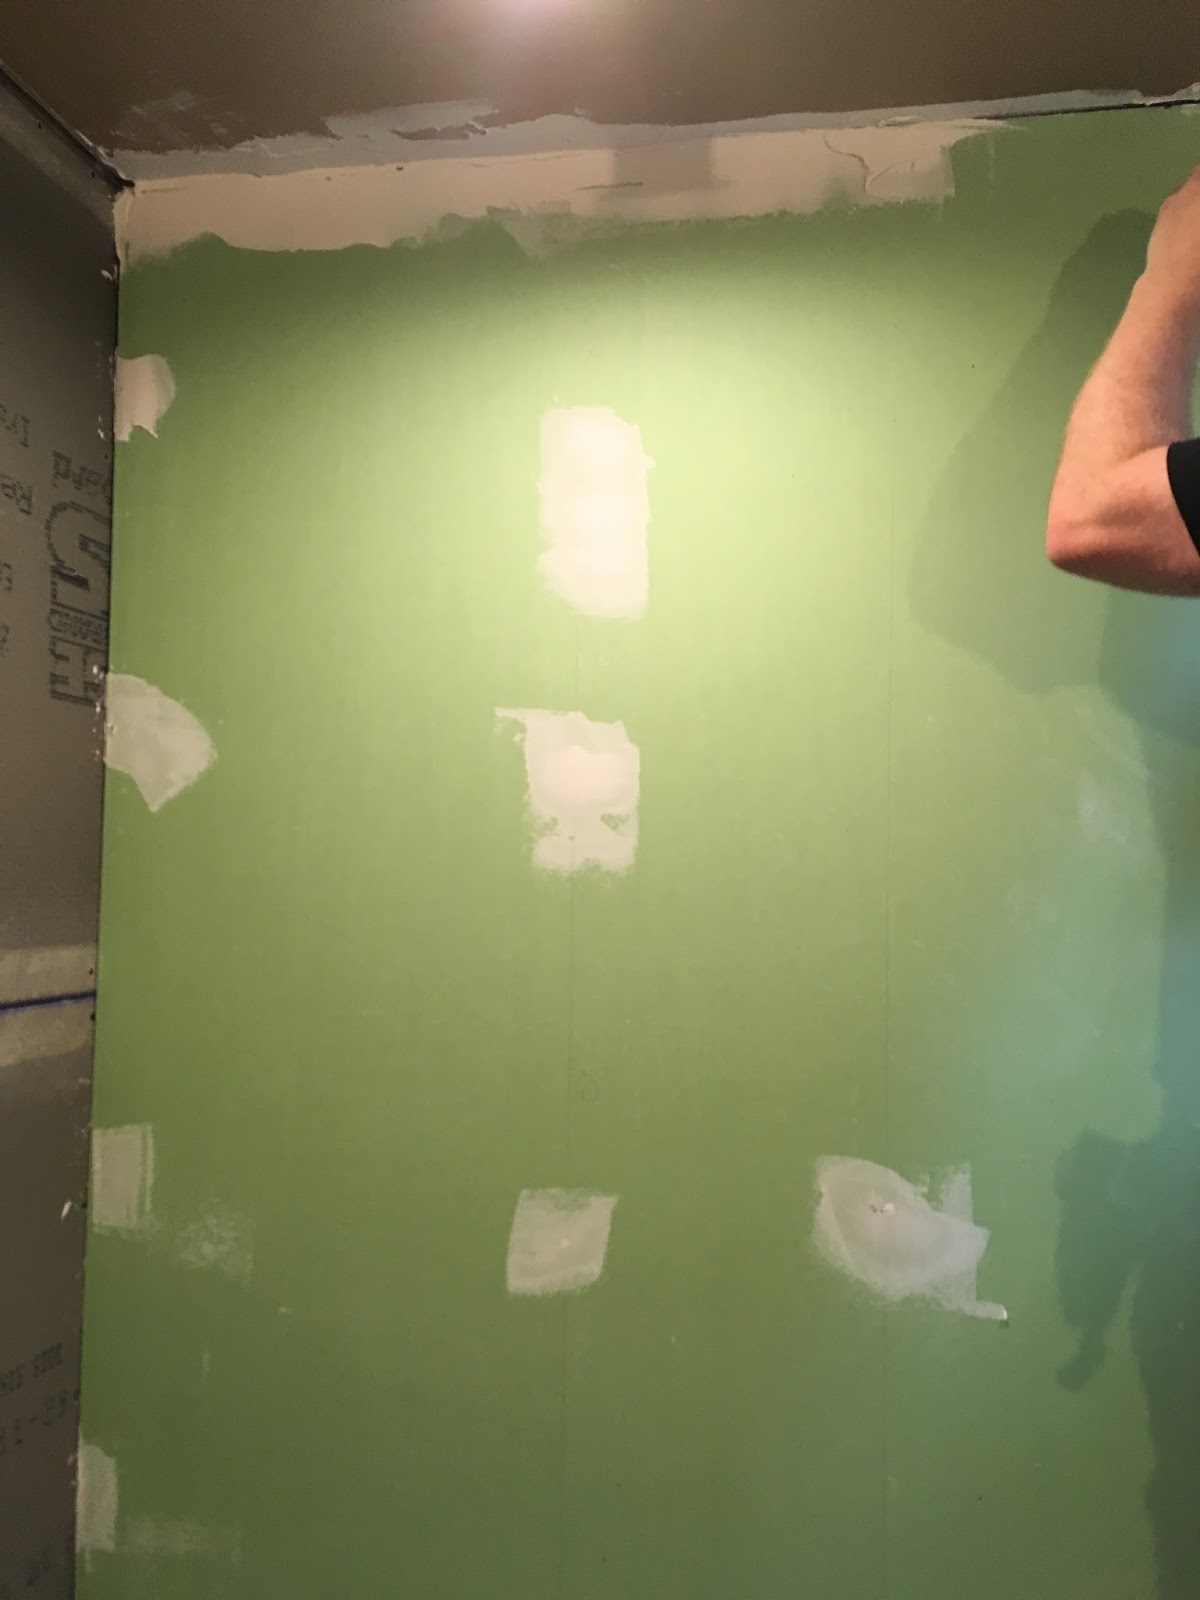

I helped with the first application, but I become conveniently sick for a couple months and could not, alas, do any of the sanding. So my only advice for mudding and sanding is that you should have a lot of patience and somewhat of a perfectionist. Rob did a fabulous job, especially as it was his first time mudding aside from a few patches.
As I was still feeling like total ass, I didn't get around to priming before tiling, but that wasn't a big deal. But, before we could tile, we had to install the basin. This required a lot of fiddling and leveling to make sure it was installed perfectly. But I'm not complaining. Usually in our renos we splurge on only one or two things. For this reno we're keeping the old toilet, will try to find an inexpensive vanity, are keeping the mirror, but we went all out on the shower. But I'll go on about the brand and functionality when we actually install it!
After we measured and placed and measured again, we put some blobs of quick cement down. The tiles themselves (floor and wall) will also work to keep the piece installed, but this would keep it in place while we did the tiling.

We placed the basin and screwed it to the wall (the screws will be hidden). As we didn't want a walled-in shower (just glass), this set-up prevents leakage.
 |
| Sexy |
Though the basin has a protective cover on it (like the one that comes with you phone that you try to leave on as long as possible haha), we still put an old sheet over it to protect it. As you can see why in the following photos.
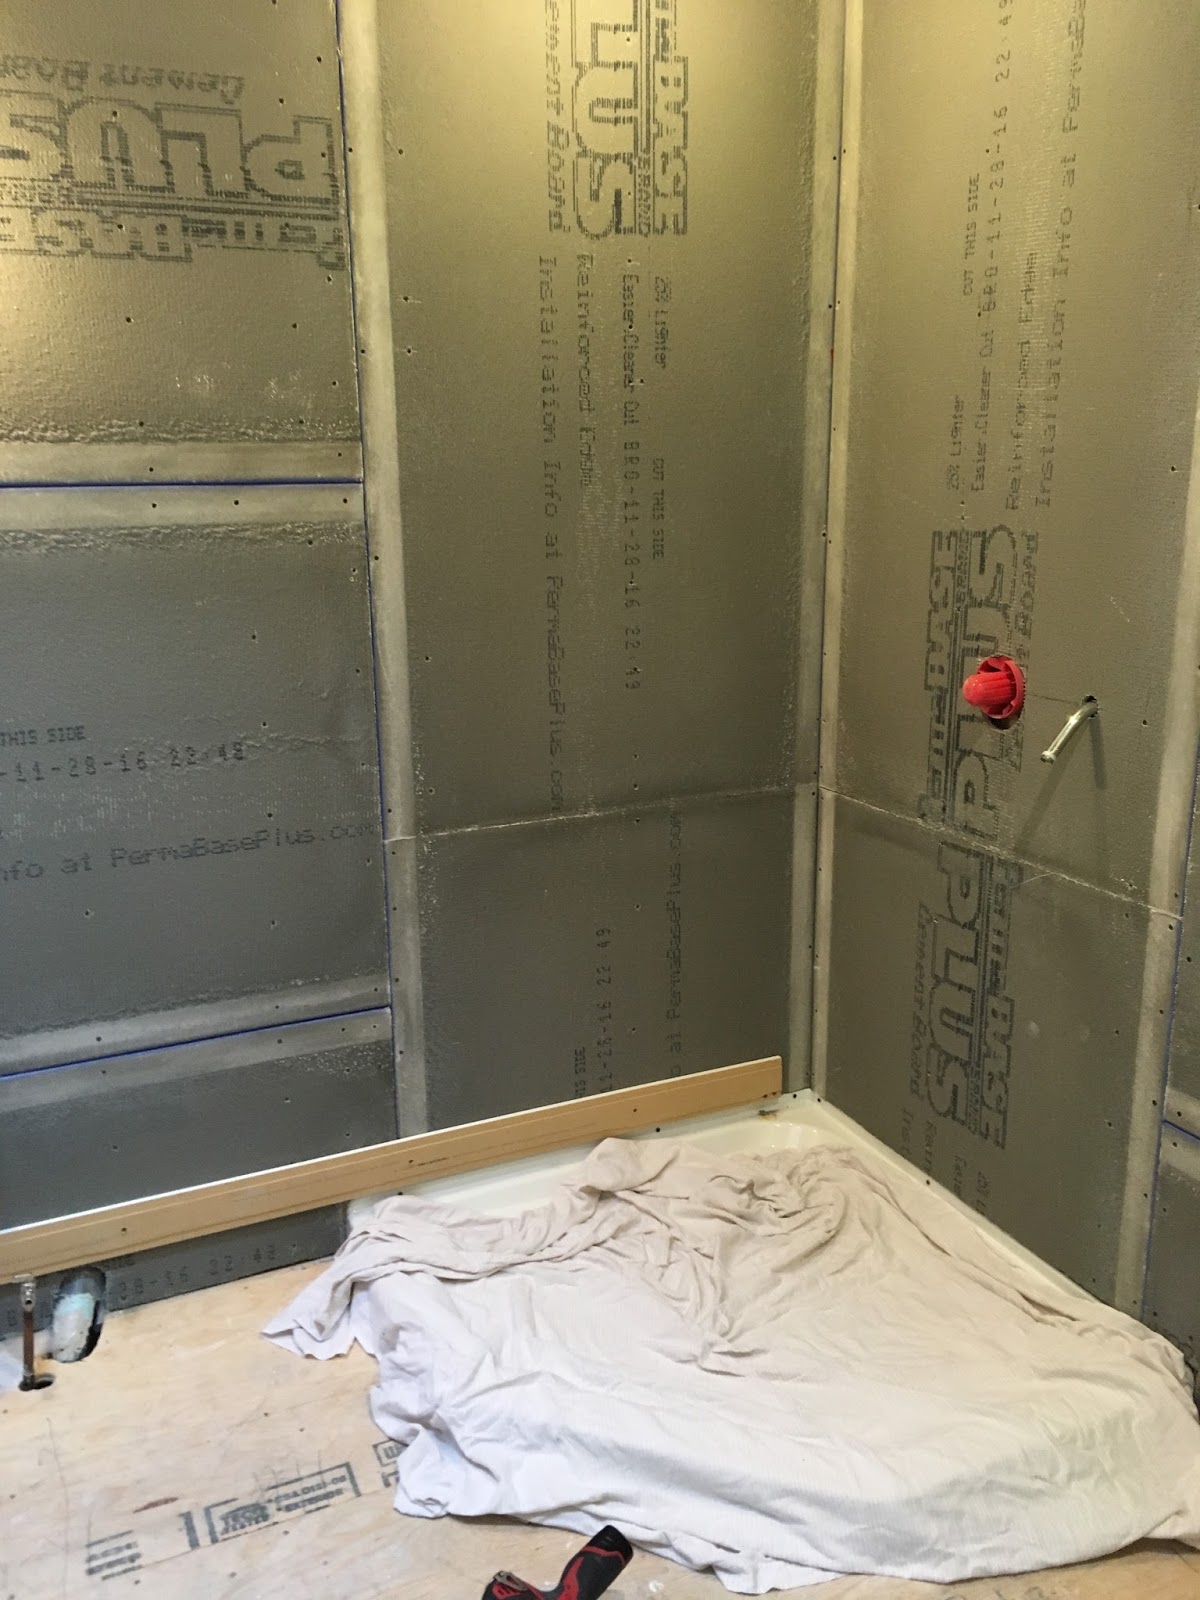
As you can see from the photo above, there is now a piece of wood on the wall. Why? Well, when we started prepping for tiling, Dave came over again to help us. Given the height of the walls and the dimensions of the tiles, we discovered that one row of our 11.5 x 23.5 tiles would have to be 8" high. As I thought a skinny border at the top was not ideal, we decided to have the smaller pieces on the bottom. So, we installed the wood level on the wall as a mock floor - all tiles would be installed starting above the wood. When the tiles were done, we would remove the wood and install the bottom pieces.
We also had a similar issue regarding the width. The tiles wouldn't meet perfectly from one side to another, so we decided that the long pieces should meet at the shower corner and splay outwards, giving the illusion that they continued past the wall. Good old decorating class techniques!
After these things were decided, we got to work! Below are our tools!
 |
| Bucket with sponges for cleaning off the tiles as they are hung - if not, the cement dries on it and it's harder to get off later. I like the green bin because it's wide and we could use it as resting place to back butter tiles. |
 |
| Trowels of various varieties. |
 |
| The adhesive we used |
 |
| Good old bucket with good old mixing bit. Like a KitchenAid mixer on steroids! |
 |
| Tile cutter! You can't just cut tile with a regular old saw, FYI. |
 |
| Gloves out for Harambe! |
Not shown are the spacers. We also used a regular scraper if we needed to lift or push a tile slightly to put in a spacer.
Some basics for tiling:
If you have tiles that aren't uniform in colour/design, I suggest selecting the order ahead of time (or if someone is particular [me], have them lay them out in the order they wish as you go).
First step is to mix the adhesive. We did half a bag at a time, as while the stuff does stay wet for awhile, it doesn't forever. You want it about the consistency of icing for a cake. Not too runny, not too thick. It should spread nicely but not run off the trowel or be tough to spread.
Then you put the adhesive in a layer on the cement board (about half an inch thick), creating grooves in it with the ridged trowel.

You backbutter the tile you want to install (a THIN THIN layer. Almost non-existent). This helps it stick.

Then you push it in place, wiggling it a bit. You place the spacers after this. You shouldn't shove the spacers in, but move the tile (using a small scraper or dry trowel) and push it in place over the spacer.
Wash the tile off with a sponge.
 |
| You can get legit huge sponges for tiling, but I found these little kitchen sponges worked nicely for the initial cleanse, as sometimes you want to run an edge in the gaps to clear it for future grout. |
Seems easy, but when the wall isn't 100% straight, you have those side pieces to cut, you have to grind/cut weird holes, and you're working tight quarters, it was wonderful to have Dave there to help!
Voila! First wall:

After this we decided to go to Arizona for a much needed vacation!
 |
| Just chilling out in Sedona. No big deal. |

 |
| Ahh |
I COULD have taped the tiles, but I just free-handed everything (because I'm a pro, what what).
 |
| First coat of primer. |
I managed to get the two coats of primer on (including in the skylight) and the first coat of ceiling paint, but I'll show that later when I paint the rest of the walls. :)
This Saturday we decided we would finish the wall tile so we got to work! Last time we were hardcore lunatics only focused on work, so we had no music. This time, as it was just the two of us, we listened to Google Play's So-Cal mix. Ah, late high school/university days.


 |
| And to prove that I actually do things in this renos instead of just take photos, I asked Rob to take a photo of me (granted, I'm just cleaning the tiles, but whatever) so he took 3 zoomed in photos of my butt before getting this cheesy one. Sigh.) |
What's Next?
Painting the ceiling!
Painting the walls!
Tiling the Floor!
Cleaning the tiles!
Grout!
Tips:
If you purchase your tile from a specialty flooring store (which I recommend) ask them to suggest both a grout and cement/adhesive for the tiles.
Small spaces = small staff. While Dave's help was immensely appreciated, three was tight.
Lay your tiles according to what you want to accentuate. Do you want to create the illusion of width or height? Vertical for the latter and horizontal for the primer.
Don't let your husband take a photo of you in yoga pants.

Comments
Post a Comment