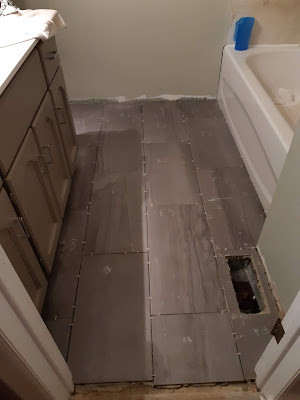
Main Bath: It's Functional!
Last time I posted we had finally finished the shower tile and our goal was to have the floor tiling done by Marcy's birthday (Oct 11th)! We just squeezed in that deadline by thankfully having Kait come over on the Monday of Thanksgiving to watch Marcy while we laid the tile (which we had already measured and started cutting), then we grouted during the week! We still need to seal the grout, but the tub has been caulked, the toilet is in, and the vanity is installed! We're in the home stretch!
Way back before we even started the en-suite bathroom, we decided we'd do the floors in both bathrooms the same for continuity in the home. We ended up needing an extra box for this room once we'd finished the ensuite, but Galt Tile easily ordered up another (thankfully!).
 |
| Placed and set! |
 |
| Needs to be cleaned up |
I spent a lovely lunch hour scrubbing and cleaning the tiles to prep for grout!
 |
| Rob also installed the toilet! |
Now we just need to finish the window casing, trim, the mirror, and get a couple incidentals like toilet paper holders and etc! Then it's on to another project (hahaha no.)
The Cabinet Upgrade
It's finally time to show how I updated the cabinet and vanity!
Here they appeared originally:
Note the lovely 90s wood.
As I said a few posts back, we decided that these guys were in good shape, just ugly, so we'd facelift them instead of getting new ones.
What did I do?
First, I spent my Thursday afternoons (when Marcy was with grandma) sanding the darn things! I believe I mentioned this in a previous post, but it took FOREVER. This was because I was under the impression that I was staining them, but (also in another post) that was not to be.
So, once they were sanded, I painted them with Benjamin Moore CC-55 cabinet coat paint.
These took a few coats but look great once complete!
 |
| I also replaced these old uglies with new ones! And new handles too |
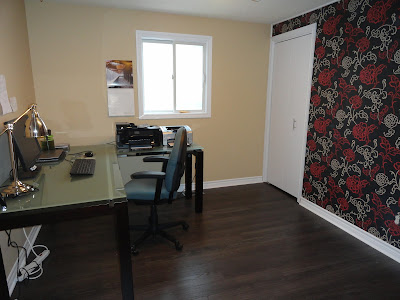
Once they were all painted I decided I was going to line the shelves of the cabinet and the bottom of the vanity. I decided to give it a bit of spunk and use some leftover wallpaper from my office accent wall (yes, from like 7 years ago!).
 |
| Measured and cut |
 |
| Pasted it on there using the glue already on the wallpaper |
 |
Funky!
 |
| And a new countertop. |
BEFORE and AFTER!
Next Post:
The "official" before and afters of the bathroom (once we get the trim and etc done)!
And possibly something about new basement windows, but we'll see about that *rolls eyes*


Comments
Post a Comment